In this article, we will show you how to set up VPN on Ubuntu Linux. But before we get started on the steps, let’s start with some basic info about VPN.
A VPN or Virtual Private Network creates an encrypted tunnel between your computer and a remote server. The two major advantages of using VPN are, first, you can hide your real location because you will have the IP address of the VPN server and second it encrypts all the traffic between your computer and the remote server. So, if you connect to a public WiFi, your data remains safe even if it is intercepted by someone.
Procedure: How to Set up a VPN on Linux
VPNs come with different installation methods, here is the easiest method via Ubuntu Network Manager and OpenVPN
NOTE: This tutorial has been created with Ubuntu 18.04
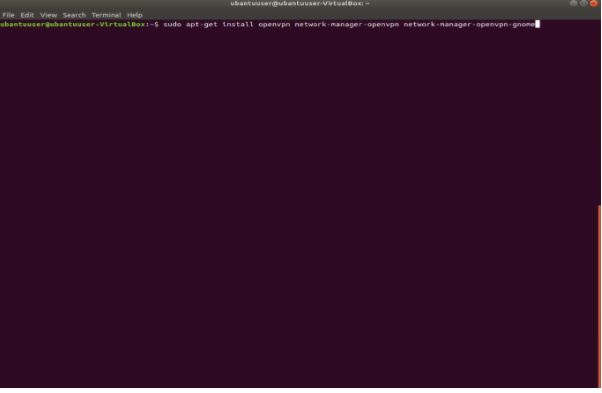
1. Open the terminal(ctrl+alt+T) and install OpenVPN with the following command
sudo apt-get install openvpn network-manager-openvpn network-manager-openvpn-gnome
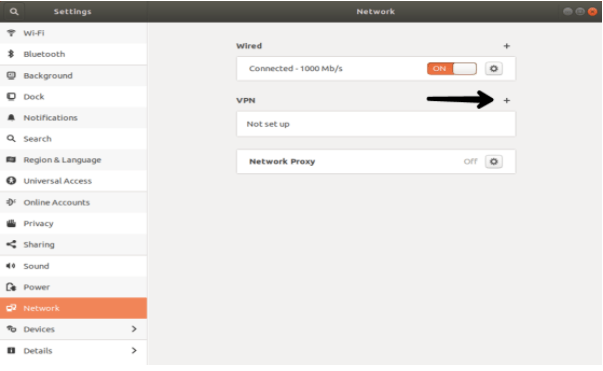
2. Open Settings, go to Network and click on “+” in the VPN
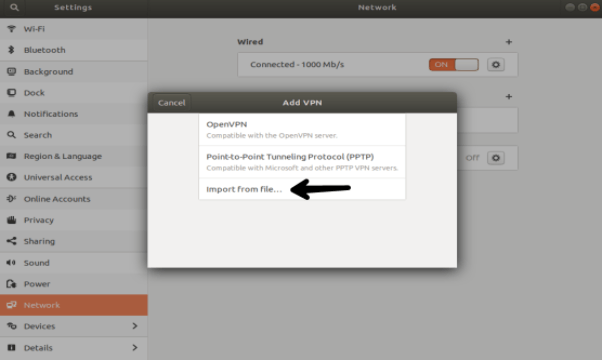
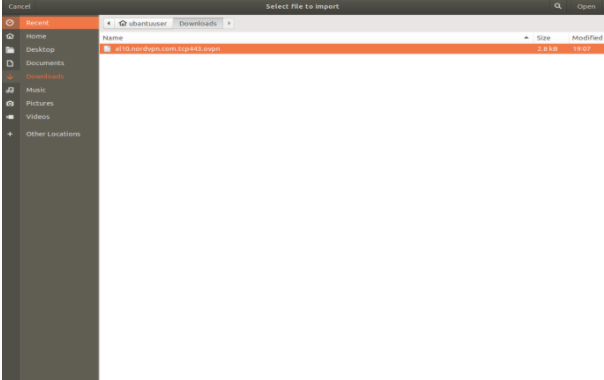
3. click on “import from file…”
4. Download and unzip OpenVPN configuration files from your VPN provider, and select .ovpn file
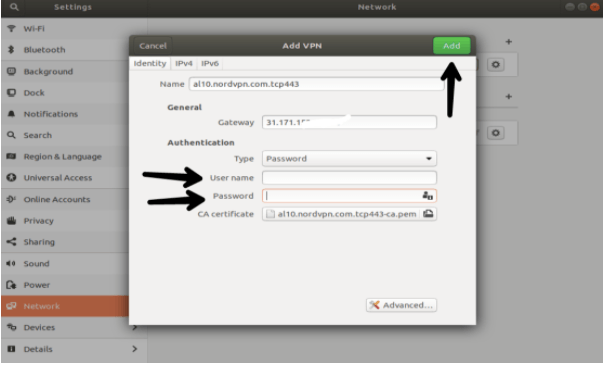
5. Enter your User name and Password of your VPN provider and click on the “Add” button
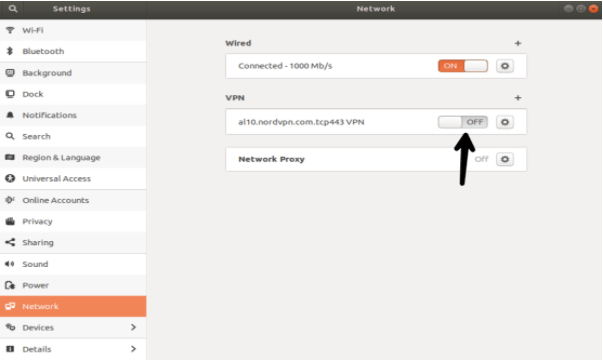
6. Click on “On” to establish a VPN Connection